Bike Care 101 for Triathletes Part 2: Tires and Brakes
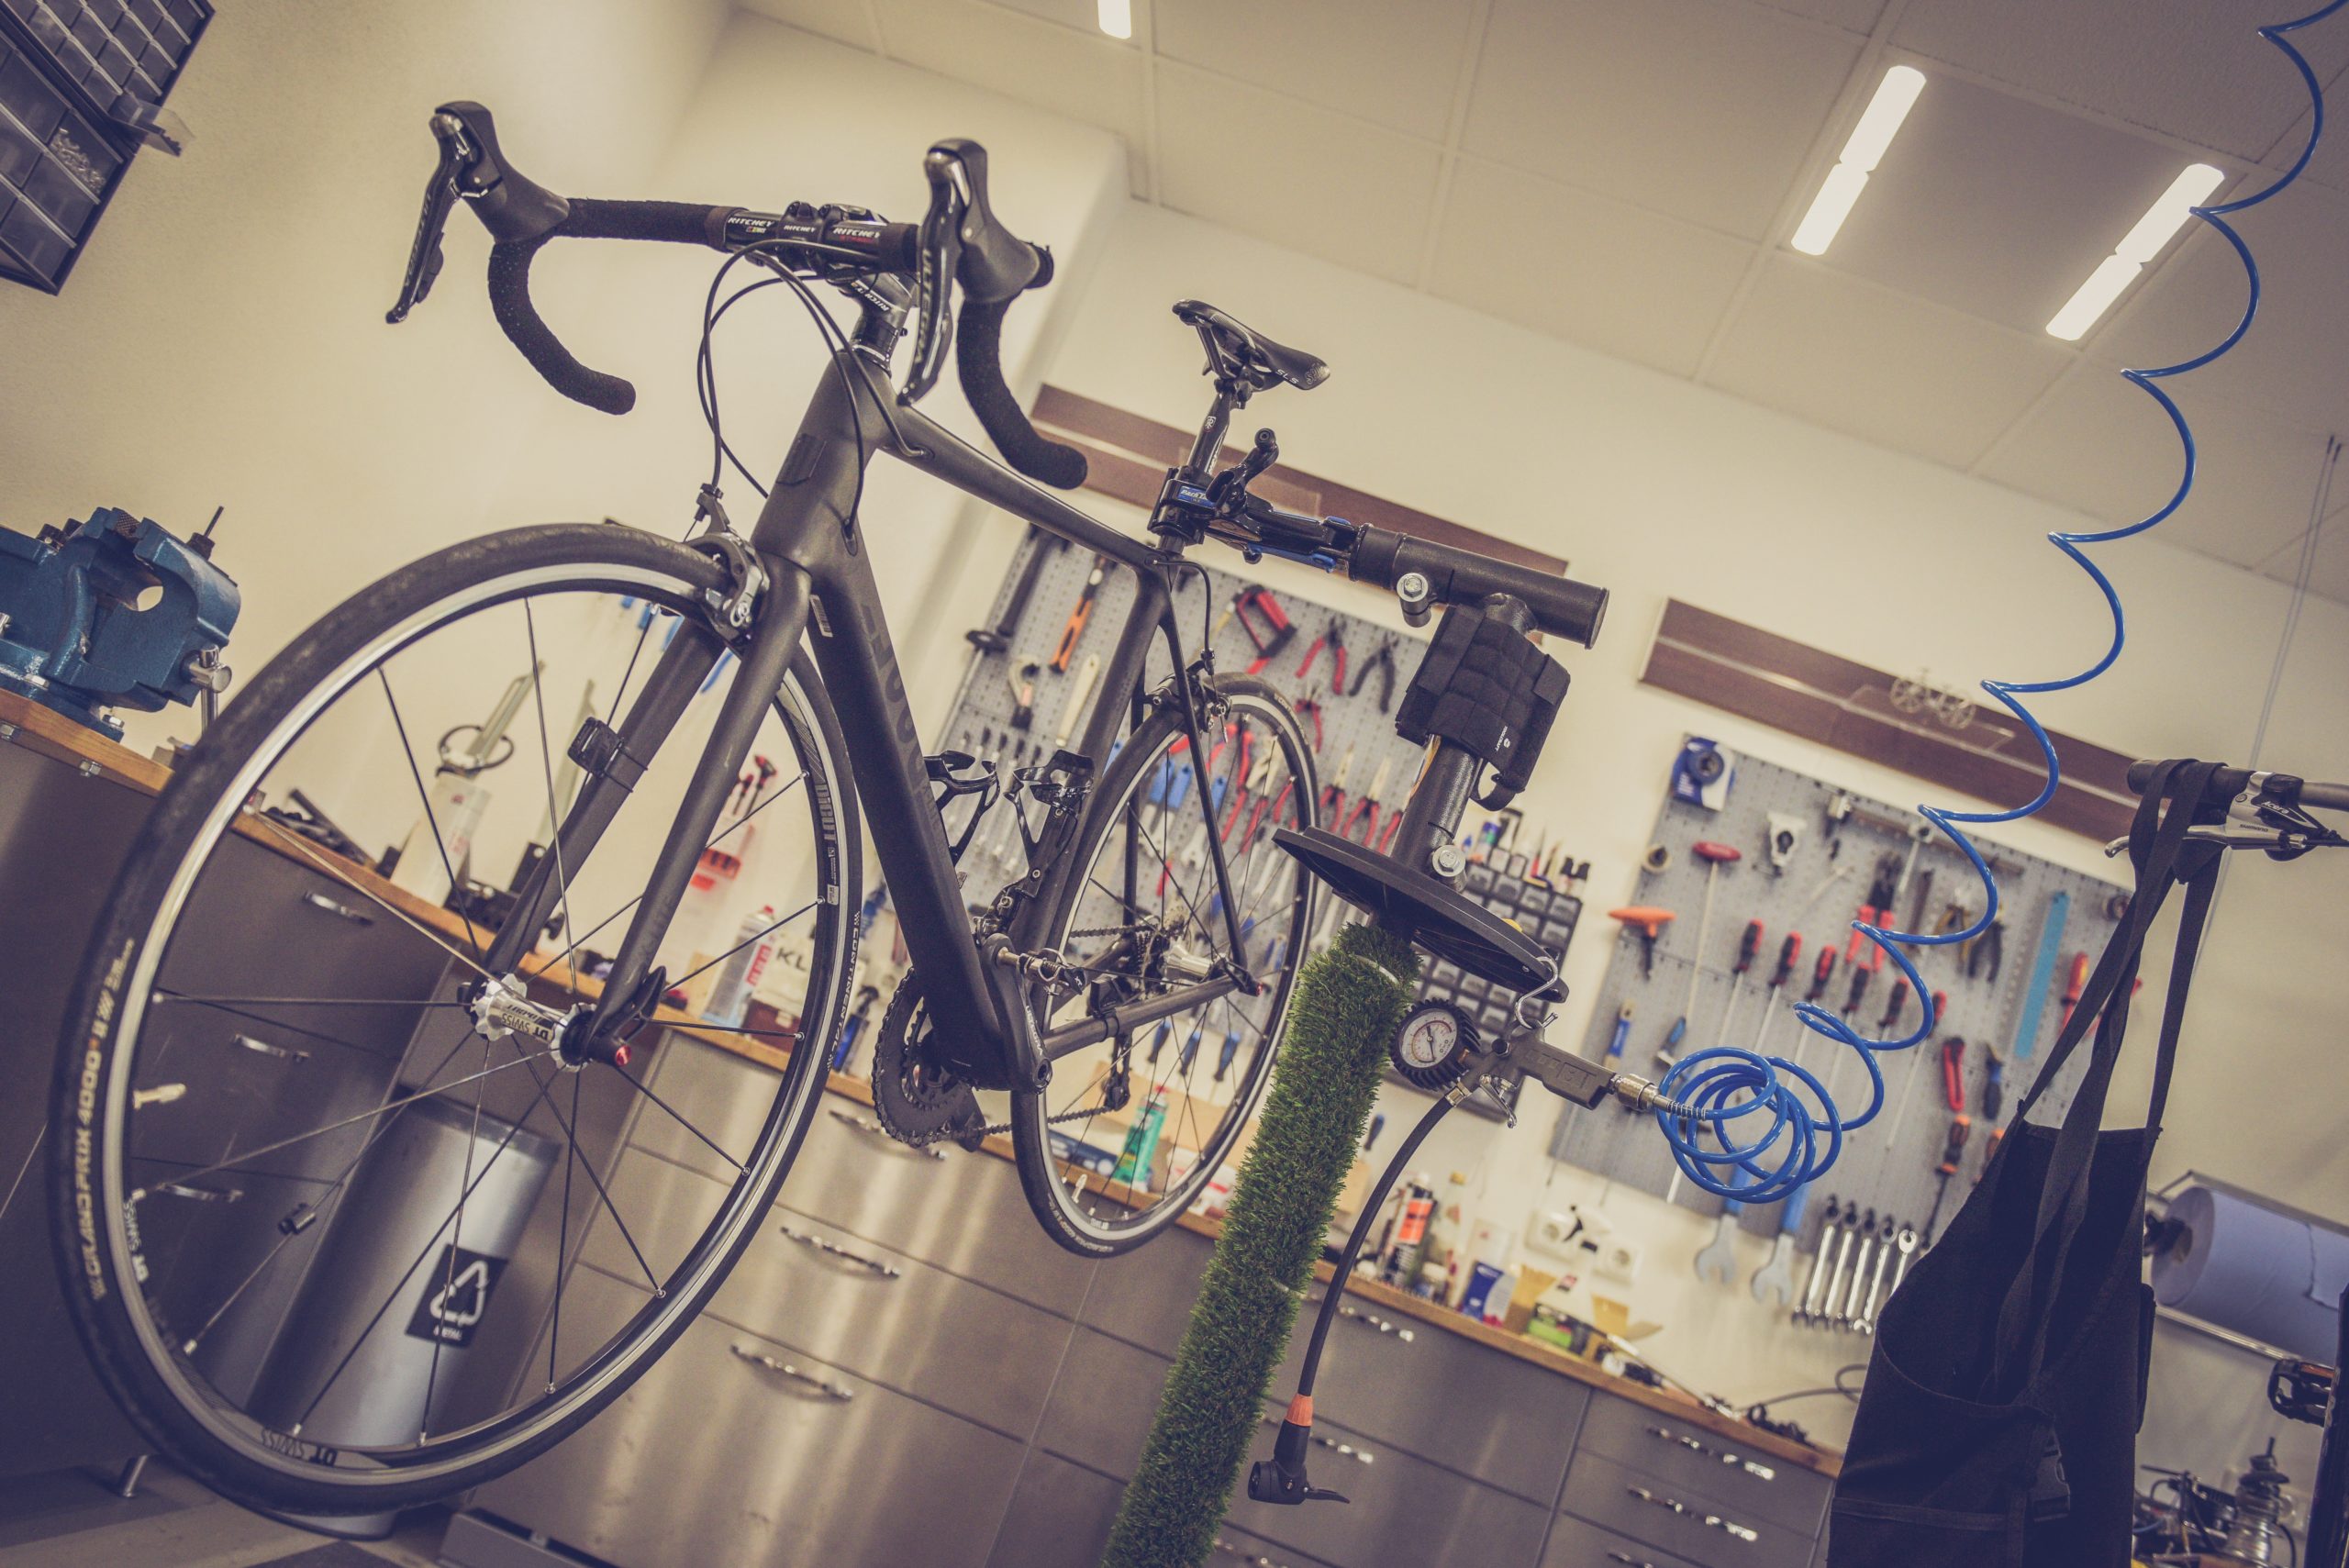
Tires and Brakes, Local Bike Shop Professional Mechanic Corey Burtell brakes down the basics of bicycle maintenance.
In part 1 of our series we covered basic care and cleanliness. In part 2 we will get into maintenance of your steed.
Aside from a clean bike, there are two areas of the bike that play a vital role in your performance and safety, tires and brakes. Particularly ensuring you have the right tire pressure and healthy functioning brakes.

Bike Tire Care
How much tire pressure do you need?
I’ve seen a lot of confusion around tire pressure. Many people who run 23mm and 25mm tires settle with 100 psi, which they find to be a safe pressure level. With tire pressure, some people can feel a five to 10 psi difference, while others can’t.
Weight: It should be noted that the greater the weight of the bike and cyclist, the more tire pressure is needed. Going the max psi isn’t necessary (unless you feel it is). It’s good to play around with tire pressure, though finding the “perfect” psi can be difficult because there are so many factors to consider. The goal is to find a tire pressure that gives you the most comfort, support and speed. If you care to test tire various pressures, I’d recommend checking this out: tire pressure calculator. It doesn’t cover every variable but it’s a good place to start.
Weather conditions: When riding in the rain or wet conditions, more tire traction is needed. Therefore, it is recommended that the rider lowers the average tire pressure, but not so much that they will risk a pinch flat. Also, debris is more likely to stick to a tire in wetter conditions, thus the likelihood of a flat tire may be greater. It’s a good idea to check your tires for embedded debris after every ride to avoid it working its way into the tire and causing a flat.
Terrain: Rougher terrain, in my opinion, is better handled with slightly lower pressure than normal. That allows the tires (a form of suspension on every bike) to absorb some impact or vibration, giving the cyclist better control. Note: if you are going at higher speeds and handling larger impacts, a slightly higher tire pressure may be needed OR more compression in your suspension (if suspension is available).
If the tire is rock solid, then the pressure is too high. If the pressure is too low, it may feel bouncy and have poor grip when cornering. Once you find the ideal number that’s supportive and comfortable, stick with it. It’s up to you to find the correct pressure.
Note: different tires will feel different under the same tire pressure so be aware.

Tubes vs. tubeless
Tube set up has been around for years. It’s set-up is easy:
- Tape the inner rim to protect the tube from sharp edges and the spoke nipples.
- Install one sidewall of the tire onto the rim
- Install the SLIGHTLY inflated tube starting with the stem
- Install the remaining side of the tire, remembering to FINISH INSTALLING AT THE VALVE.
- Inflate to 20 psi.
- Inspect the tire and if all is well, fully inflate.
Tubeless tires are starting to become a popular trend. Setting up a tubeless tire takes a bit more time, knowledge and patience. Your rim and tire should ALWAYS be tubeless compatible or else you run the risk of losing large amounts of tire pressure while riding, which can be extremely dangerous.
Set-up:
- Tape the rim with tubeless tape (one layer for applications for 40 psi and below, two layers for 40 psi and above, or for loose fitting tires).
- Poke a hole in the tape for the valve.
- Some mechanics like to burn a hole by heating a sharpened spoke, others cut a hole for a more precise and flush fit. Whatever the method, ensure the hole is no bigger than the valve hole for the best air seal.
- Install a valve that works best with the rim (Dt swiss, Stan’s No Tubes, and Muc off valves are my favorite).
- Install the tire, finishing at the valve.
- Ensure the tire and rim have an airtight seal. Once things are air tight,
- Install sealant through the valve. You’ll need anywhere from two ounces for a 25mm 700c tire to eight to 10 ounces for a five inch wide fat bike tire. (Different sealants will recommend different amounts.)
Tubeless tires will generally accommodate lower tire pressures while still maintaining support. However, keep in mind that you can damage the tire’s sidewall if the tire pressure is too low. As shared above, my recommendation is to achieve your tire’s max pressure, then lower it by 5 psi at a time. Go for a quick ride and see how it feels. Repeat as necessary.
Brakes
Brakes are a crucial part of your bike’s controls. Making sure your brakes are in good condition can literally save your life should you need them in an emergency situation.

Rim brake pads
Each have lines indicating when they are past recommended usage and need to be replaced. The lifespan is largely dependent on how hard and how often they are used. Compounds, conditions, use and ride time contribute to its deterioration.

Disk brake pads
These are less straightforward, and it can be difficult to determine when they should be replaced. Each pad has a metal backing which holds the stopping material. Inspecting the pads can be done on the back side or top of the brake caliper. If you notice the backing is getting close to the rotor, it may be time to replace the pads. You can have your LBS take a look and/or show you some examples of what is good and bad.
It’s imperative to learn how to inspect your brake pads, and this should be done every few months.
Brake rub
This is when your rim or rotor slightly rubs against the pads, intermittently or consistently. A little bit of brake rub is normal; your bicycle flexes and that may cause your rotor to rub the pads while you ride. A slight inconsistent rub while turning or pedaling out of the saddle is completely normal. If you experience a consistent rub while riding, while it may be a nuisance, it’s most likely not slowing you down. If you suspect brake rub, take your bike to your LBS for a quick assessment.
Clean Pads
When cleaning your bicycle or lubing your chain, it’s best to avoid getting anything ‘slick’ near or on your rotors/braking service or pads. Disc brake pads are porous and will absorb lubes or polishes and this will ruin the pads. It will cause you to lose braking power and will sound like cats screaming in harmony with nails on a chalkboard. If you must clean your pads or rotor/braking surface, do so with a clean cloth and isopropyl alcohol. (Vodka works too.)
Top off your fluids
Ensure you have braking power throughout your cable or hydraulic system. Mineral oil based systems should be bled every two to three years, and Department of Transportation (DOT) fluid based systems should be bled every one to two years. The type of bike fluid is usually labeled on the lever or can be found in the bike’s FAQs section.
Both can be bled sooner if there are problems or the bike is ridden often. Be sure to keep fresh fluid circulating throughout the system to prolong the life of your braking system.
. . .
Cory Burtell is a tenured bicycle mechanic with over 10 years of experience. Most recently he was a lead mechanic at Ridgewood Cycle Shop, in Ridgewood New Jersey. Also an avid mountain biker, Cory is very familiar with the anatomy and care of bikes as a rider and a professional.